Showing posts with label trimming. Show all posts

Thursday, November 10, 2011

Days 4 & 5

Continuing the helmet!


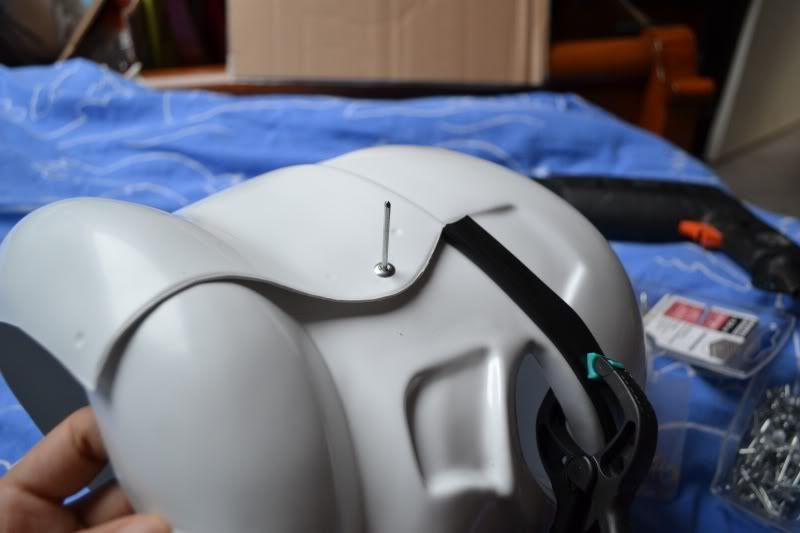
Clamps hold the brow trim at the desired level (going for a more "Hero" look) while I plan to rivet the cap and faceplate together.


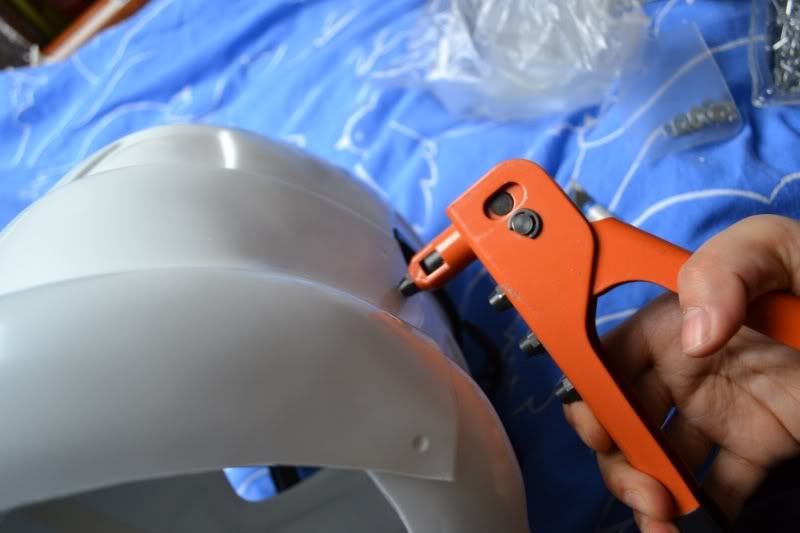
The second rivet on the "tube" section is slightly smaller. Rivet washers were used on the inside for security and prevent tearing.


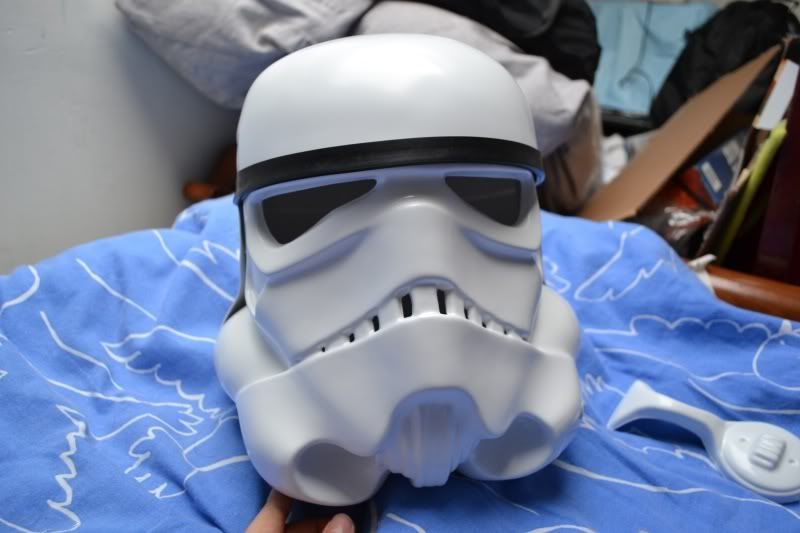
Looking all slim and closed up there, Stormtrooper.


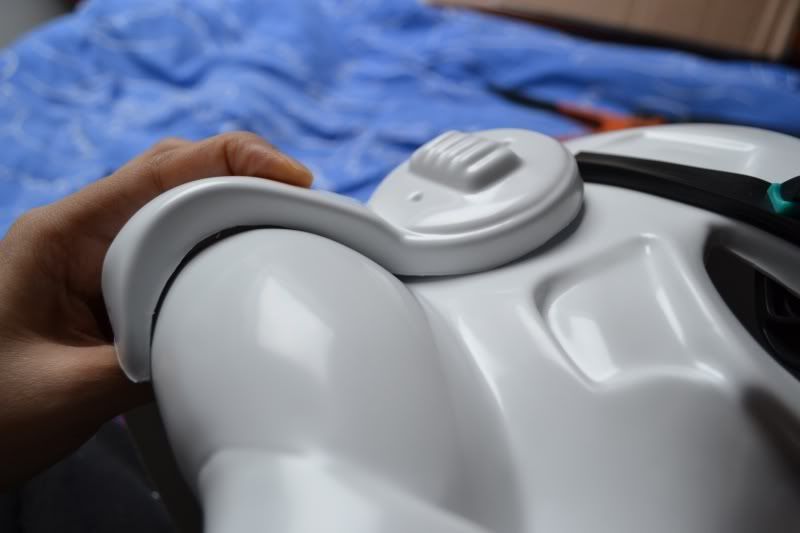
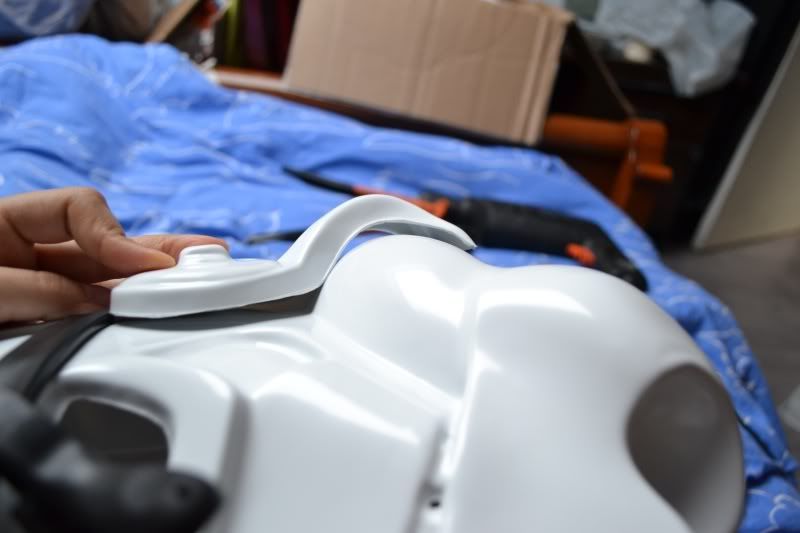
Trying to fit the ear pieces, but they were not even close to the same shape as the helmet. More X-acto trimming was in order, and also some sanding to stay on the safe side.

Monday, November 7, 2011

Day 3

Yesterday was a work day so I didn't have much time to advance on the Stormie. I cut out the ab plate buttons and in the process however, noticed that the ribbed shoulder straps were missing from my kit. I instantly e-mailed my armor guy about it since they were nowhere to be found... Hopefully they were just misplaced during packaging. No idea when I'll ever get them eventually.

Anyway, here's some face plate work.

Posted Image

Here are my new tools: triangular, round and flat filers. I ended up only using the round one with some sand paper.

Posted Image Posted Image Posted Image

Some light trimming around the edges but it still didn't look satisfying enough. Also the right eye bump was a little too pronounced.

Posted Image Posted Image Posted Image

I used the X-acto after all, with some reference pictures from starwarshelmets.com. Also for the frown holes, not sure if I should make them wider or leave them as they are.

Sunday, November 6, 2011

Day 2

It's early in the morning and I thought I'd just stay in bed for this one.


The shoulder bells and a little show of how I go about the "Score&Snap" method.


You probably can't see it but my hand were getting really sore at that point.


The biceps. Ow.


Some geometry to work on more complex shapes to cut out.


Arms are all trimmed.


Now attacking my butt plate with the X-acto!


My work station securely guarded by my cat, Timmy.

Having finished separating the butt plate, I felt like something more challenging...


The plastic was actually quite flimsy here, didn't even need to poke too hard. I call this the Poke&Twist method for drilling holes.


Carving from the inside out to control what I'm doing and not damage the "face"...


Will finish this later with a triangular filer.


Eyes ready to be carved out!


Not afraid to snap some parts off, I was feeling good about myself.


Hm, it will need to be sanded down thoroughly...


The left eye looks okay I guess.


Trimming the "cap" of the helmet. I don't have a hole-puncher to prevent it from tearing at the high corner (where the brow time stops) so I will need to be extra careful with this piece.


Brow trim fitted.


Preview of what it should look like before I rivet both pieces together.

I was so excited when I got the helmet to take this shape. I'm super happy with how easy the trimming is and how it's turned out.

Saturday, November 5, 2011

Day 1

I received my brown box this morning, actually I missed the delivery man but was lucky enough that he knew me and just dropped the package over my fence after giving me a call.

Here come the pictures!


A little bit of transport damage but nothing to whine about.


Unpacking... Christmas came early this year, or what!


Checking for damage, a few fine scratches here and there but, in the end, I'll be sporting a lightly "battle damaged" TK. Much like in the first scenes of ANH.

Moving on.


Not everything was unpacking here since I lack room. I'm currently sitting in the middle of boxes.

So, armed with the following tools I started trimming the parts. I was pleased with how easy the process turned out to be after pulling my hair off with my E-11 Hasbro mod.


I applied the score & snap method for trimming, and used the Tamiya curved scissors whenever I needed to cut out tougher parts and corners. The ABS is actually quite soft and thinner on certain areas and I didn't need to score in too deep before bending the sections I wanted off.

After roughly 5 hours of this work, here are the pieces I've trimmed, but not fitted yet.


Soon the question of thigh plate fitting has come up and I could use some advice from other short troopers. How much can I trim off the top front of the thighs, and do they need a return edge? I don't have a bending iron for plastic, so trimming those parts may make them look a bit gross... I might be confusing myself about this.

I felt like starting on the helmet but sleeping feels more reasonable right now, since it's getting late! Better off posting pictures.