Friday, November 25, 2011

Day 12

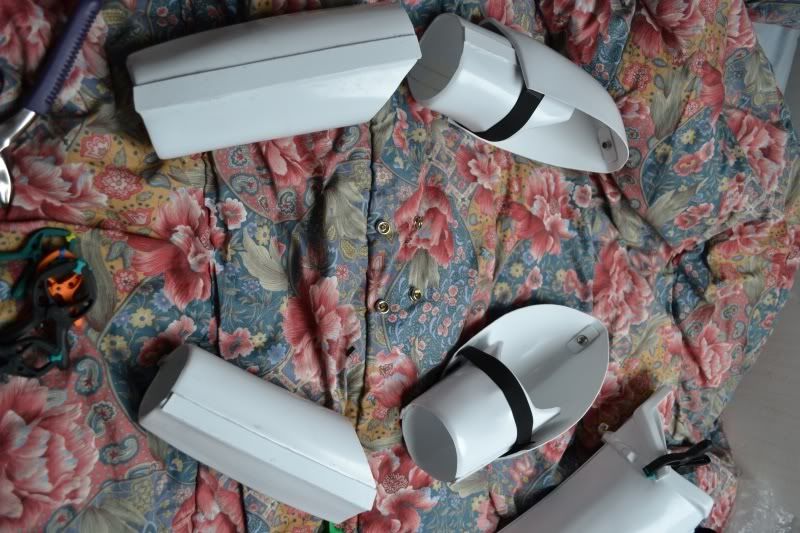
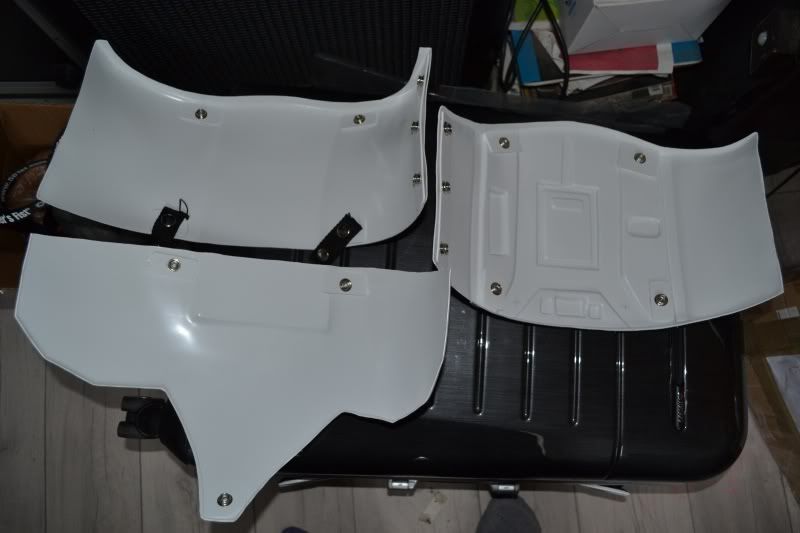
The accessories on the thighs are attached!


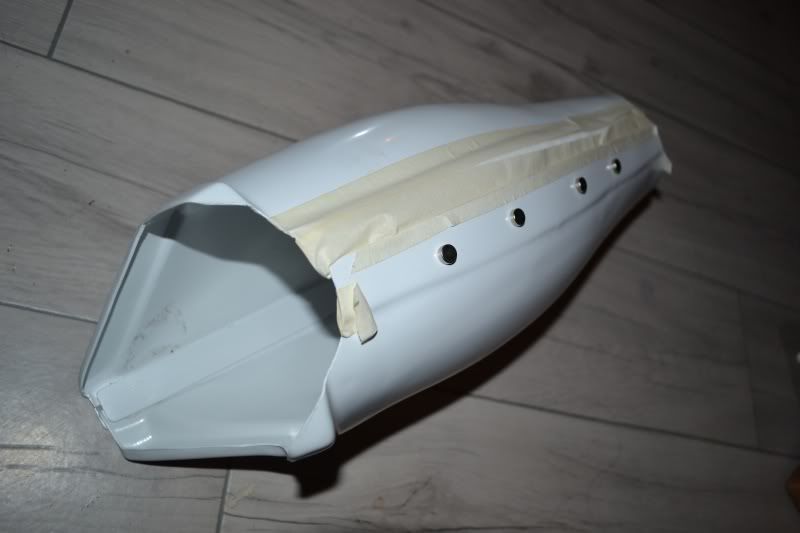
The ammo packs on the right thigh is riveted on. The knee guard on the left shin is glued on.

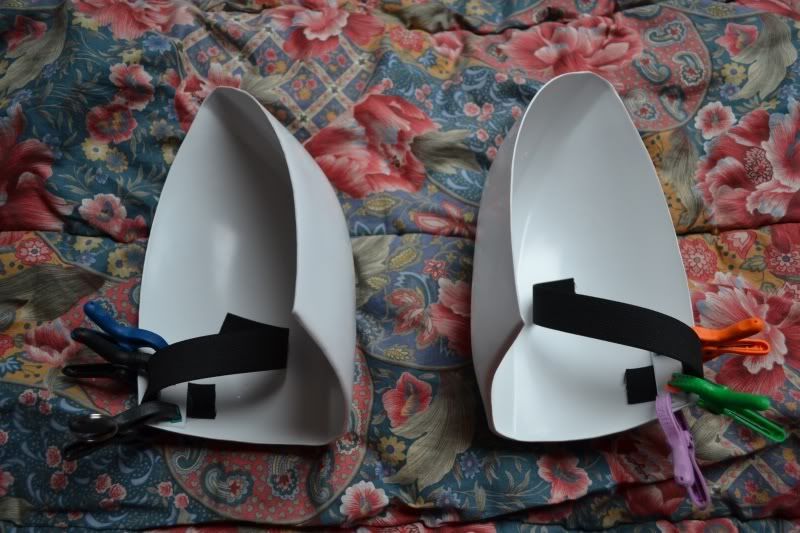
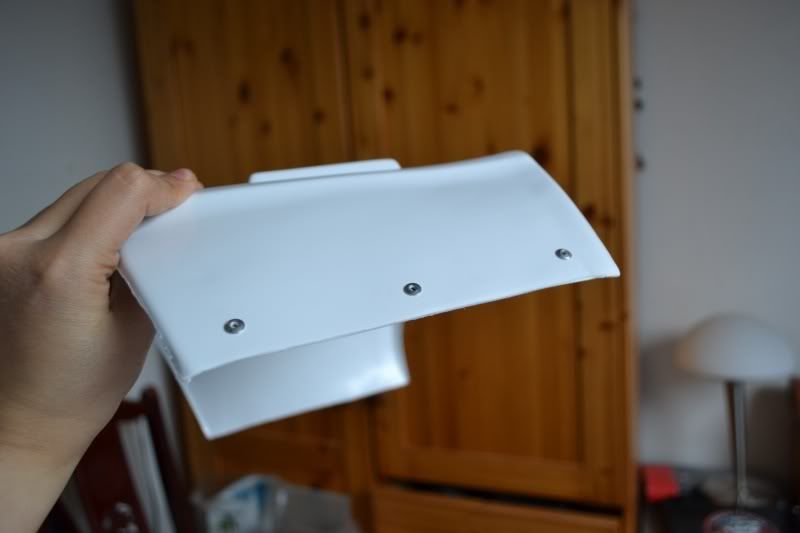
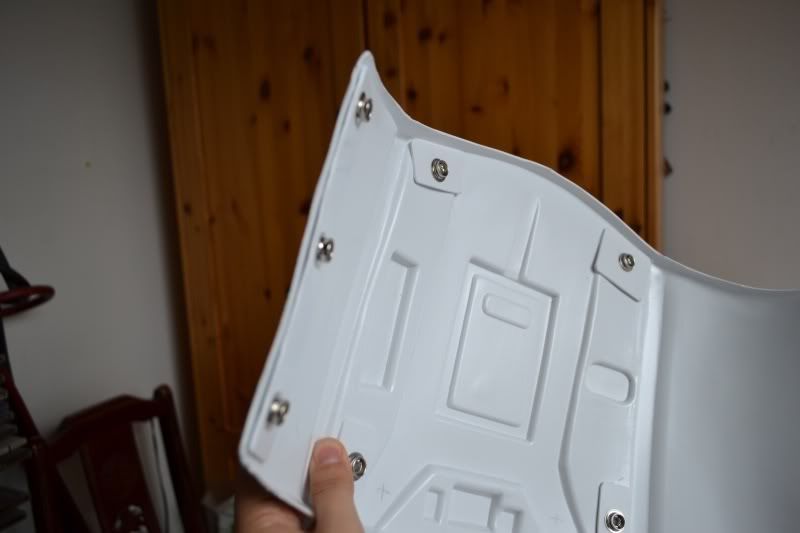
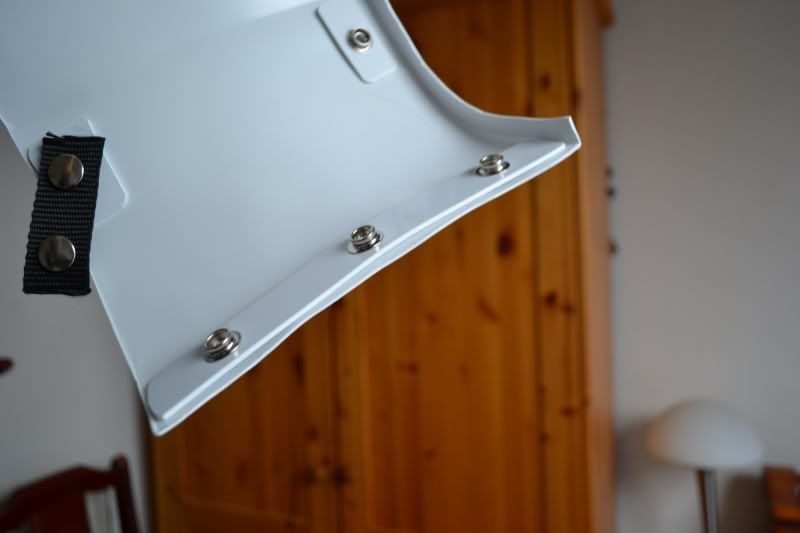
The shoulder bells being ready to get attached to the biceps via straps and snaps.


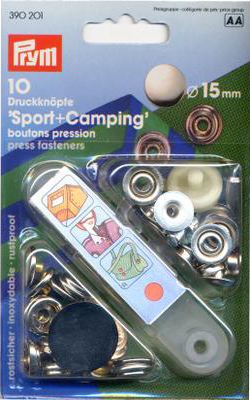
My snaps: Press Fasteners!
Buy this box once, and then like a dozen refill boxes! No, just kidding.... Buy 6 refills. 
That's approx. 70 snaps. You will enjoy having spares in case you mess up.

Again, I strongly suggest using this tutorial.

Saturday, November 19, 2011

Day 11

Attaching elastic straps to the shoulder bells.

I used scrap pieces of ABS to secure them to the armor.

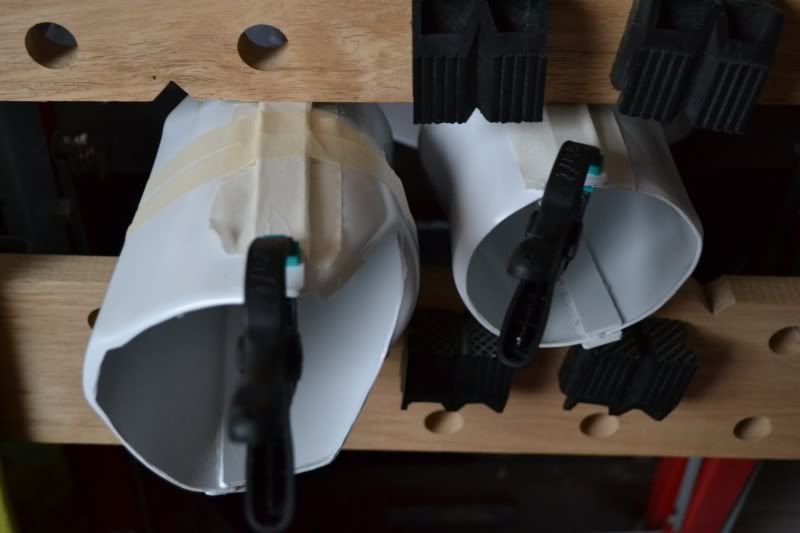
Biceps being glued and curing in a makeshift squeezing machine.


Friday, November 18, 2011

Day 10

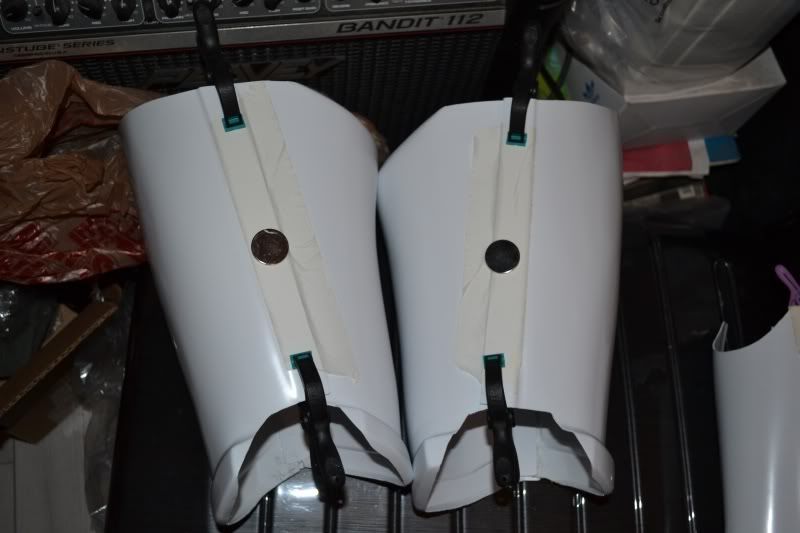
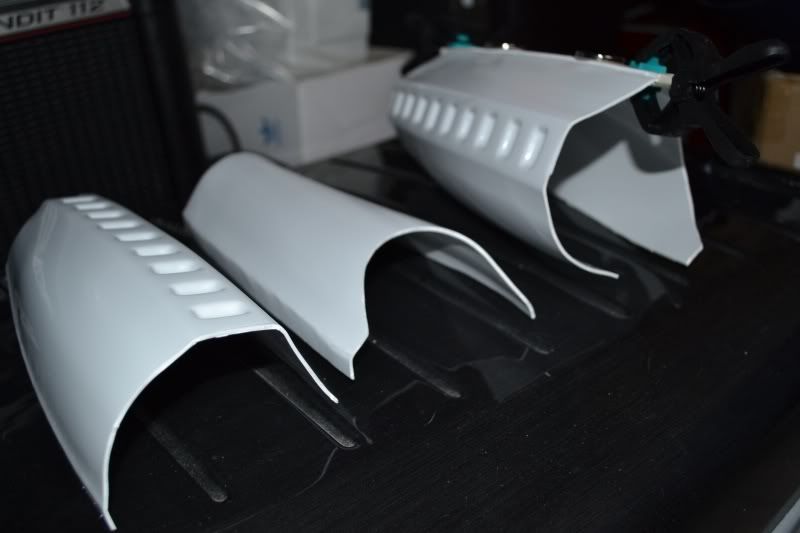
Here is some work on the shins. Adjusted the gap in the inside of the knee area, and glued some white velcro loops for the back opening.


For the back of the thighs, though, I glued them shut since I won't need to open them in order to suit up.


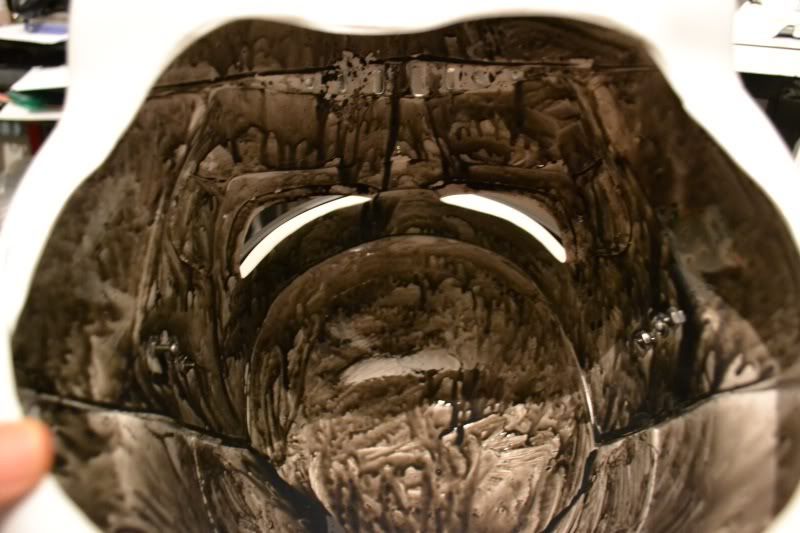
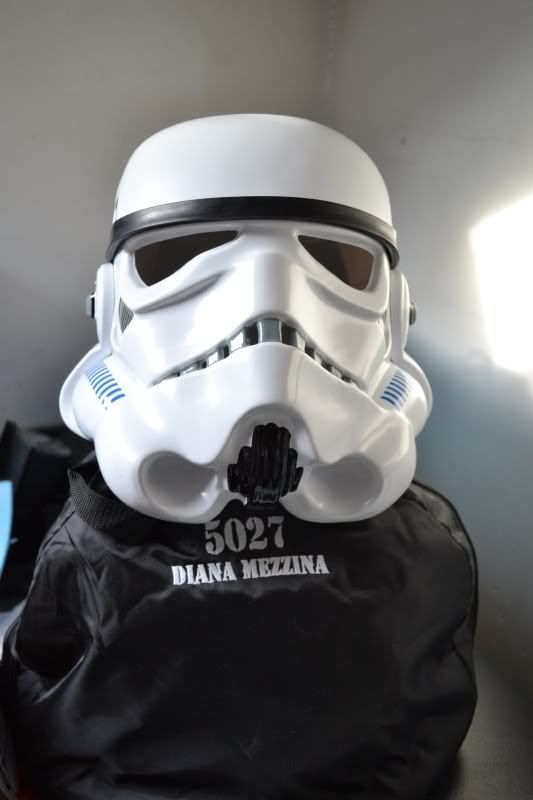
A scary picture now: for safety reasons I decided to use acrylic paint to make the inside of the helmet black. I don't want anyone to be able to see my eyes in there. Sadly, my water-painting method is a little flawed :P

This is only the first coat!

Wednesday, November 16, 2011

Day 9

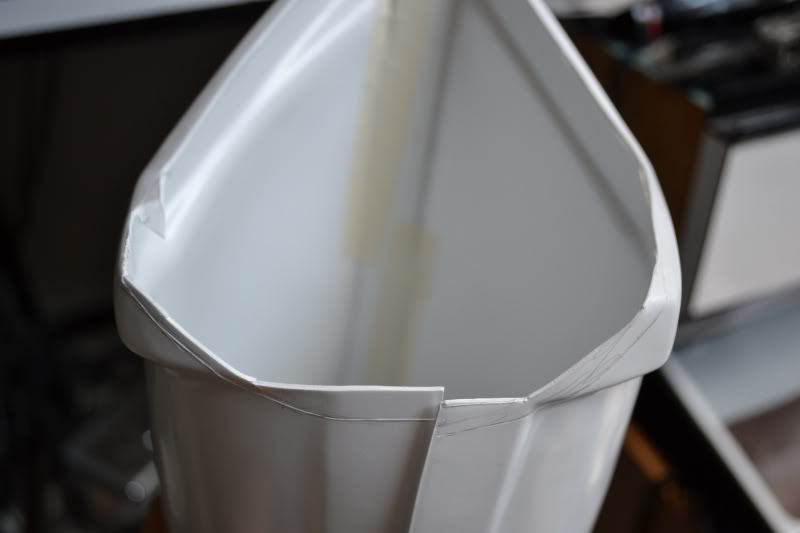
Glue job on biceps and bracers. The difficulty here was to get a good fit on the bracers while still being able to glue both parts securely. Since I have small arms, I had to cut away lots from the shims which made the tightening difficult.

First side curing.

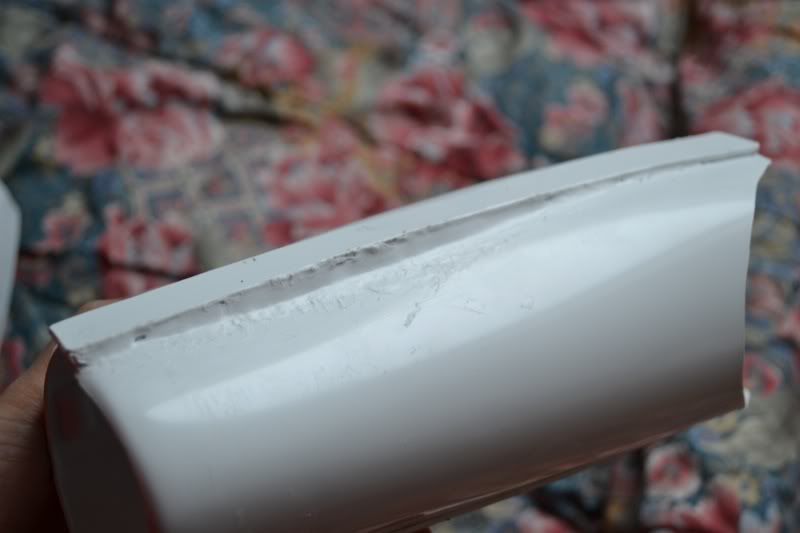
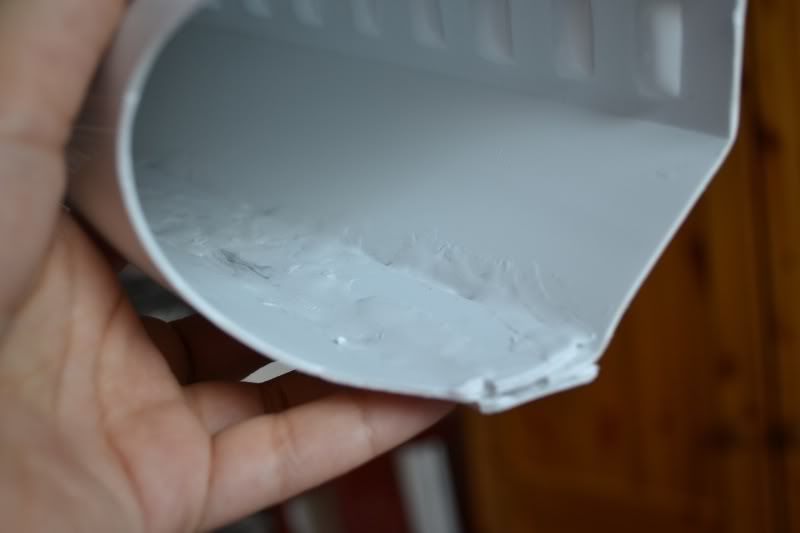
Fast forward a few days later, this is what my finished left bracer looks like... I used acetone to dissolve scraps of ABS to make a finishing putty because the gap here was huge.


But they fit me okay. The wobbling is minimal!

Tuesday, November 15, 2011

Day 8

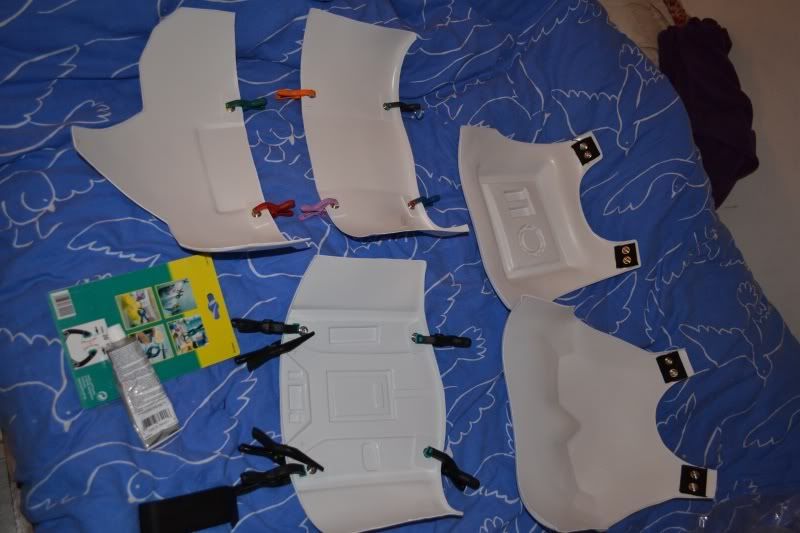
I haven't done much lately but here are some pictures of the beginning of my strapping/snapping system.


The ab plates.


For the one side, I made a rivet-snap row to add some screen-accuracy. The rivets are completely decorative, the snap strip is held to the plate with E6000.


The back, front, abs and butt plates, with the suspenders.


Also be careful when making straps, the fasteners need to be facing the same direction.

Day 7

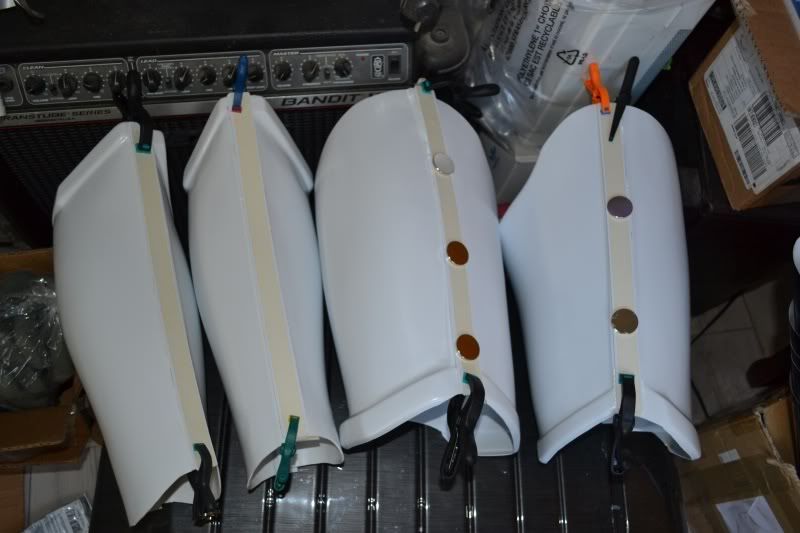
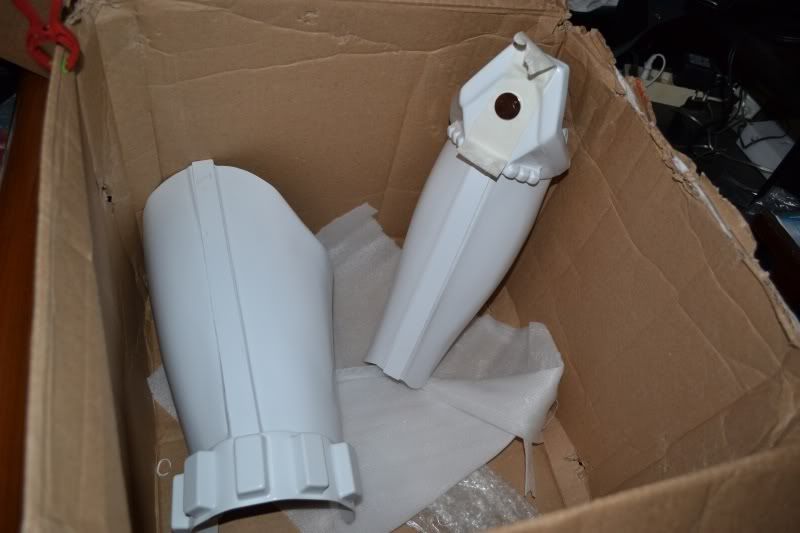
After doing what was assumed to be the hardest and most difficult part of the kit, aka. the helmet, here I move to the gluing session. It's the assembling of the shins.

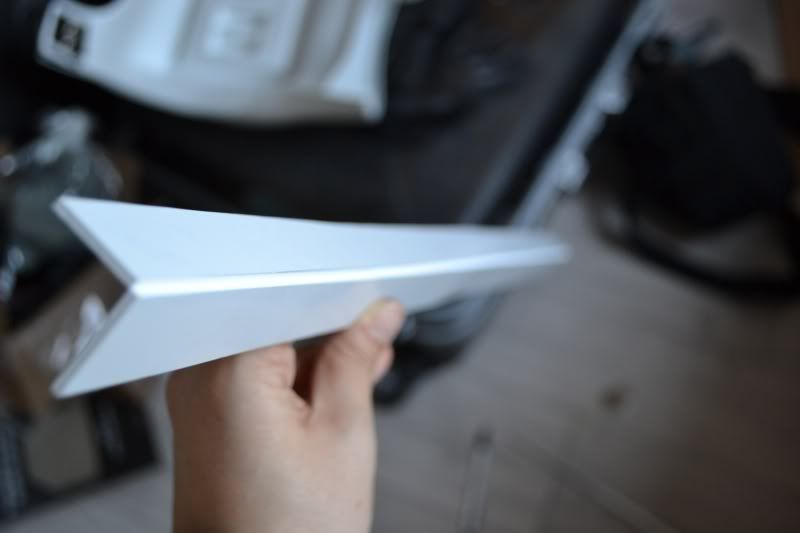
I had heard interesting things about the shin armor and how the two parts wouldn't align properly when put together, but mine seemed okay when I trimmed the front joints to form a 22 mm strip. This strip would be covered by one of the provided ABS strips that I had to divide in two, of course with the Score'n'Snap technique.


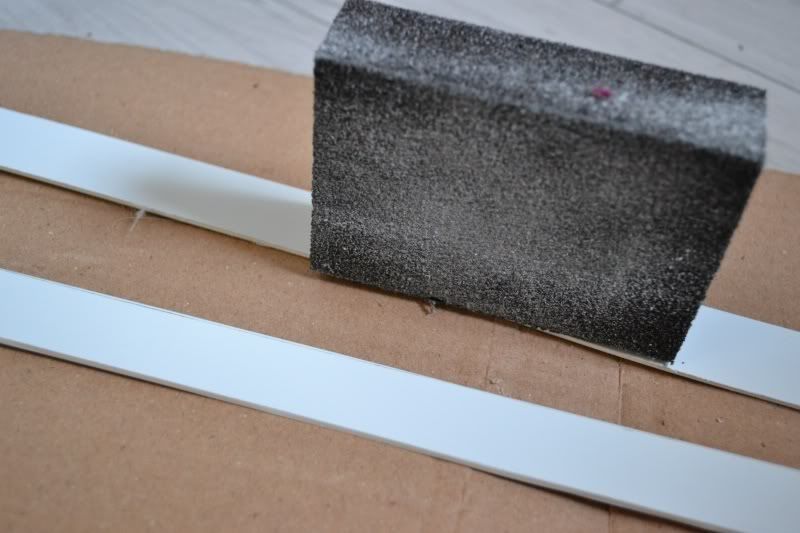
Covering strips cut to 22mm in width, sanded down slightly to allow for the E6000 glue to stick better. Sanding should be done prior to gluing on all surfaces.


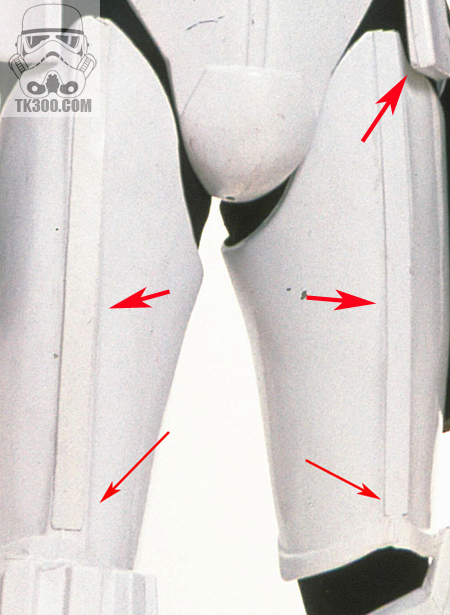
Reference picture to show the cover strips


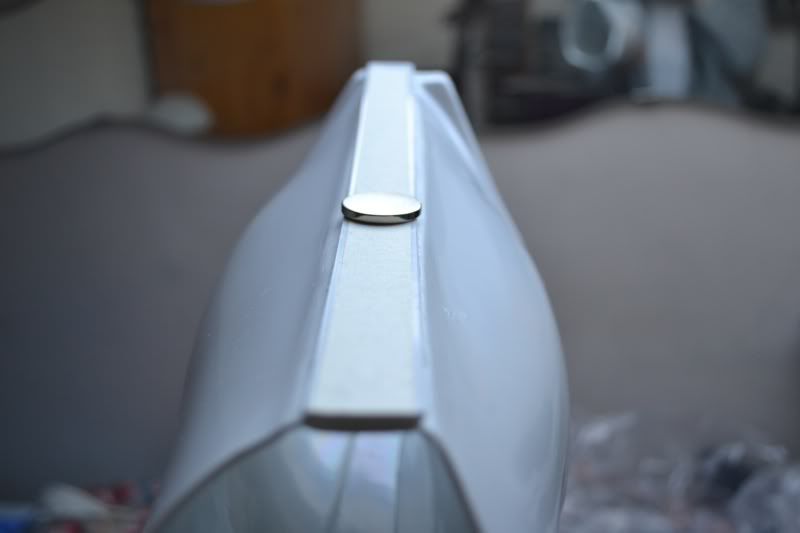
I normally clamp the edges but for the purpose of this picture I removed them to show, after 12 hours, that there is the covering strip on the outside, and a slightly slimmer strip on the inside, called a "shim", to help compensate for bending or moving of the larger elements glued together. The round thingy that you see there is a Rare Earth neodymium magnet.

Friday, November 11, 2011

Day 6

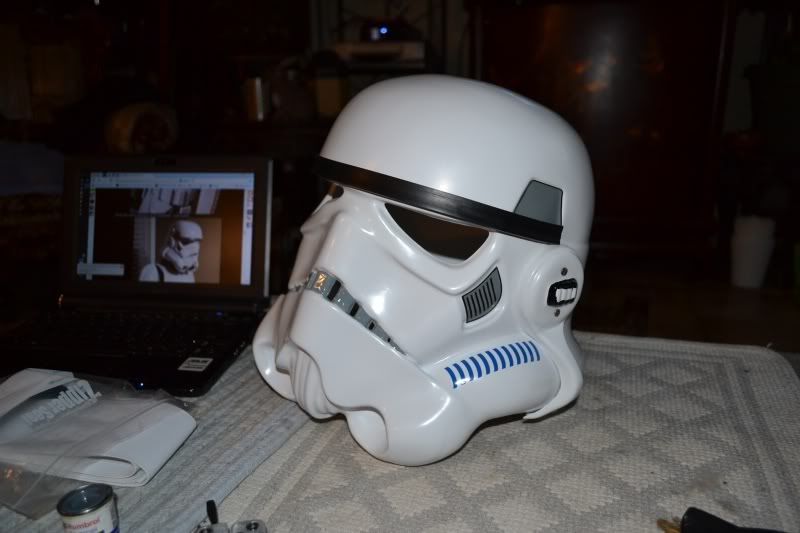
Today I spent my day off in front of the TV... and finishing some helmet building.


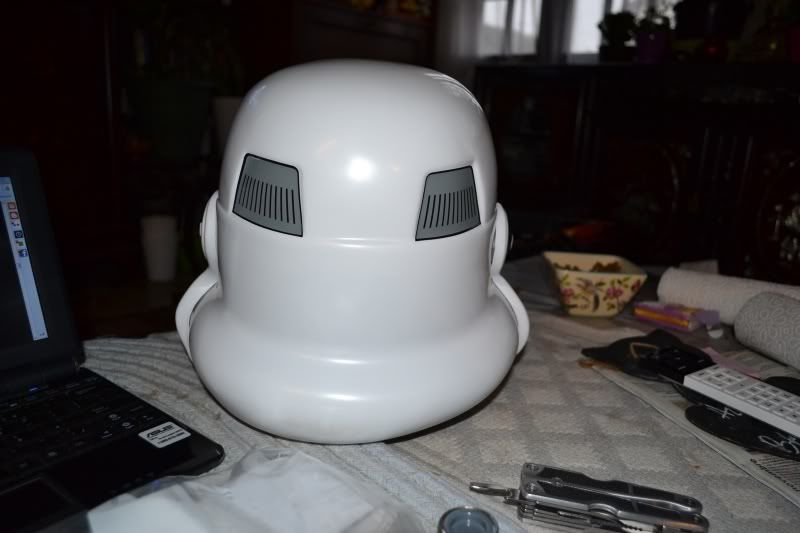
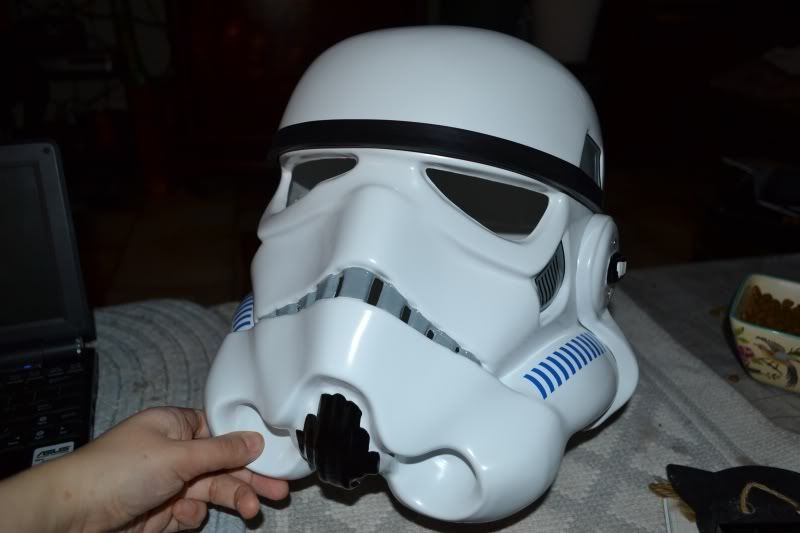
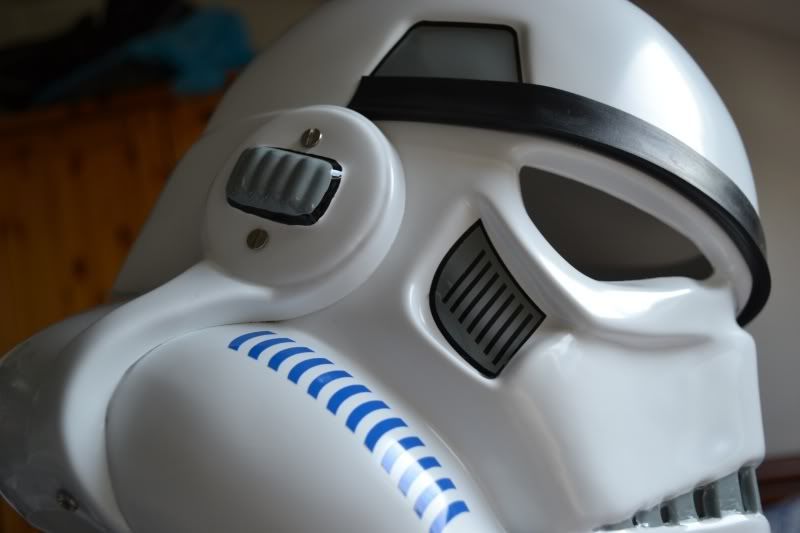
Having applied the fit-trim-fit-trim-sand method for the ear pieces for a couple of hours (or more, time flew by so fast), I eventually pierced holes and fixed them in with the screws provided in the AP kit. This was just to try out the fitting and it turned out looking great! The gaps were closing nicely so I didn't need to take them apart for adjustments.


Decals and paint were applied following this technique making sure that no air bubbles were trapped and no smudging appeared around the frown "mouth" thingy. The black brow trim isn't glued so I just lifted that up to stick the trapezoid decal underneath.

Tip: Humbrol paint takes a long time to dry and acetone will not be of any help. Use White Spirit solvent to clean your brushes. If you can get acrylic paint instead, use that. Acrylic paint is far more indulgent and mistake-friendly, if you make a smudge you can just wait for it to dry and scratch it off. It's decal-paint.