Showing posts with label shins. Show all posts

Friday, November 25, 2011

Day 12

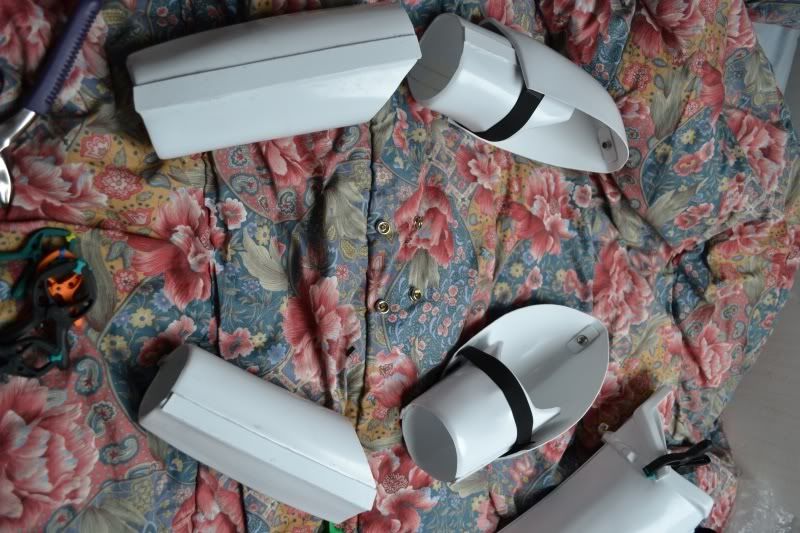
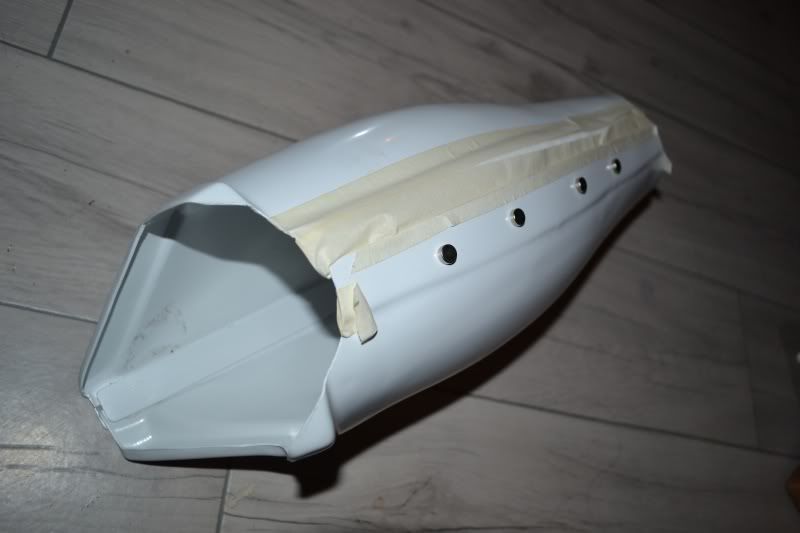
The accessories on the thighs are attached!


The ammo packs on the right thigh is riveted on. The knee guard on the left shin is glued on.

The shoulder bells being ready to get attached to the biceps via straps and snaps.


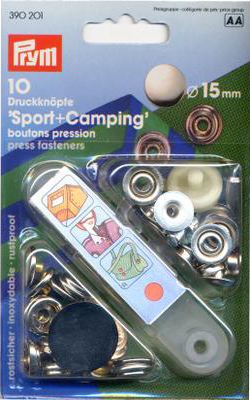
My snaps: Press Fasteners!
Buy this box once, and then like a dozen refill boxes! No, just kidding.... Buy 6 refills. 
That's approx. 70 snaps. You will enjoy having spares in case you mess up.

Again, I strongly suggest using this tutorial.

Friday, November 18, 2011

Day 10

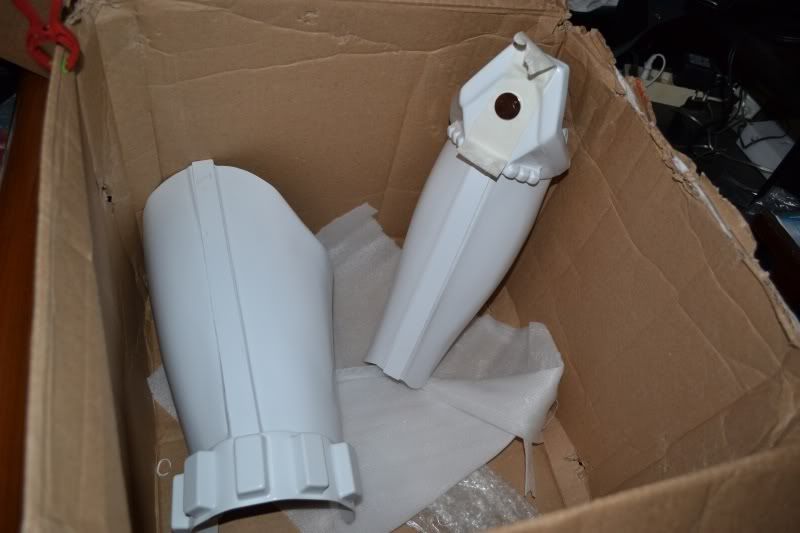
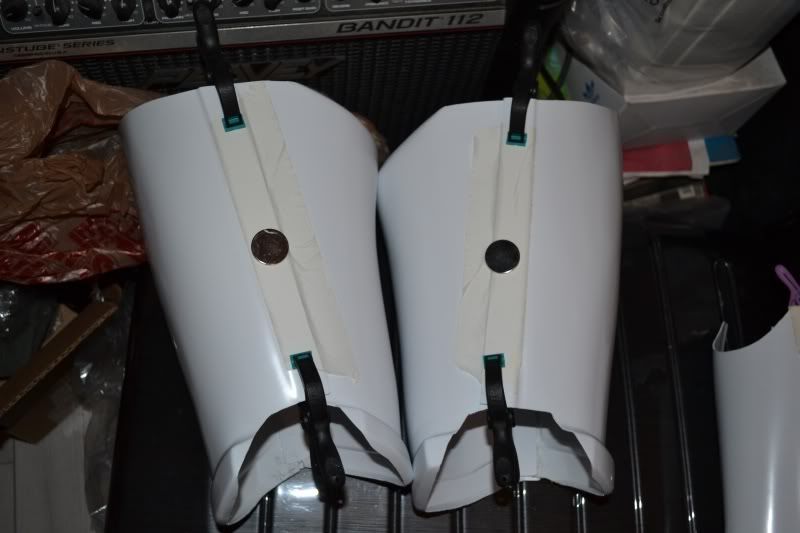
Here is some work on the shins. Adjusted the gap in the inside of the knee area, and glued some white velcro loops for the back opening.


For the back of the thighs, though, I glued them shut since I won't need to open them in order to suit up.


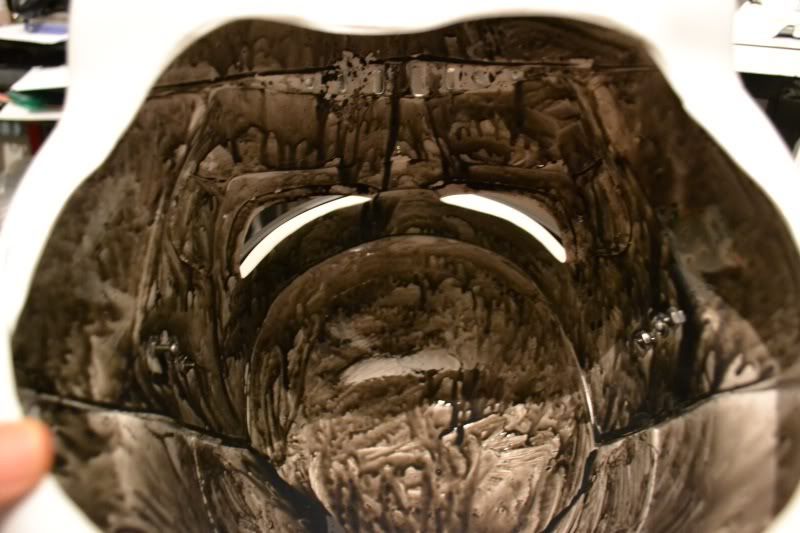
A scary picture now: for safety reasons I decided to use acrylic paint to make the inside of the helmet black. I don't want anyone to be able to see my eyes in there. Sadly, my water-painting method is a little flawed :P

This is only the first coat!

Tuesday, November 15, 2011

Day 7

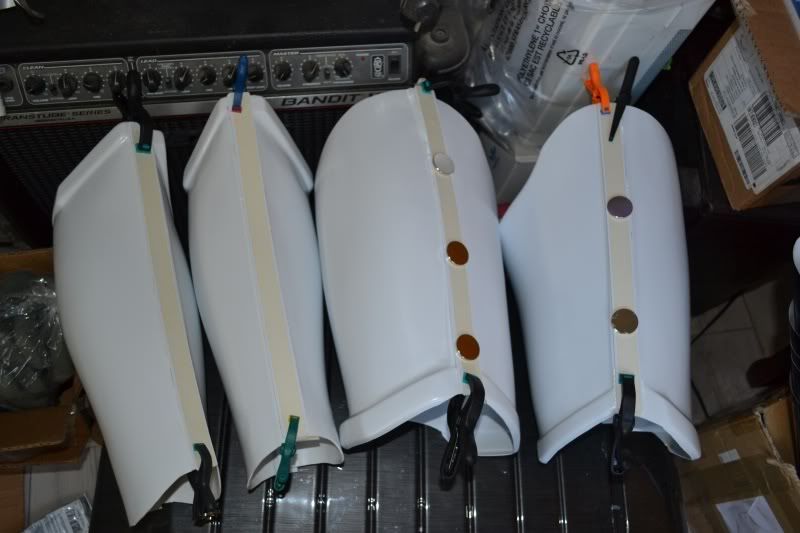
After doing what was assumed to be the hardest and most difficult part of the kit, aka. the helmet, here I move to the gluing session. It's the assembling of the shins.

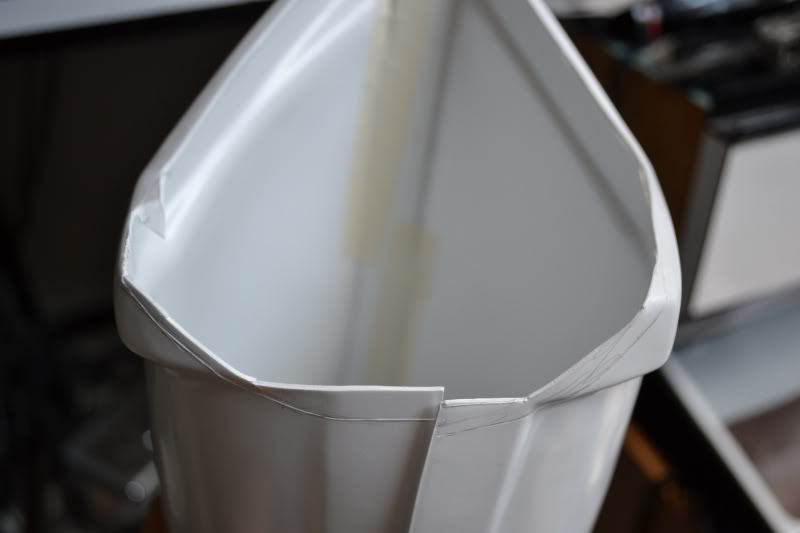
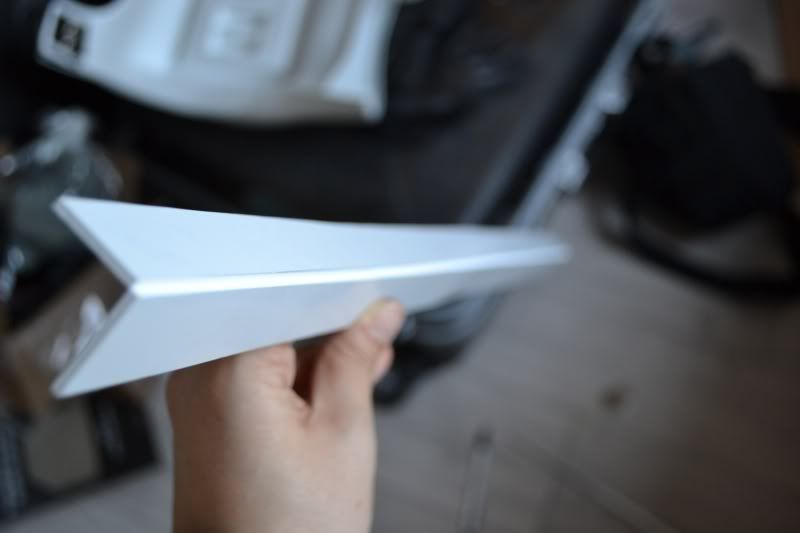
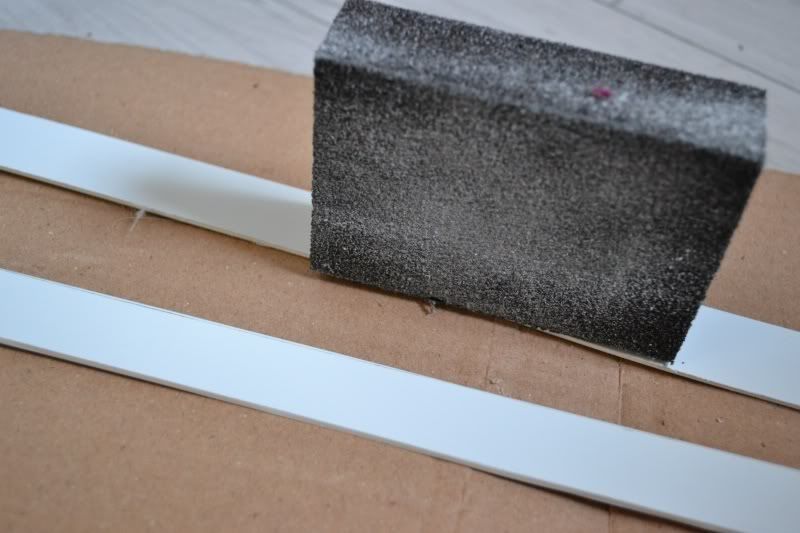
I had heard interesting things about the shin armor and how the two parts wouldn't align properly when put together, but mine seemed okay when I trimmed the front joints to form a 22 mm strip. This strip would be covered by one of the provided ABS strips that I had to divide in two, of course with the Score'n'Snap technique.


Covering strips cut to 22mm in width, sanded down slightly to allow for the E6000 glue to stick better. Sanding should be done prior to gluing on all surfaces.


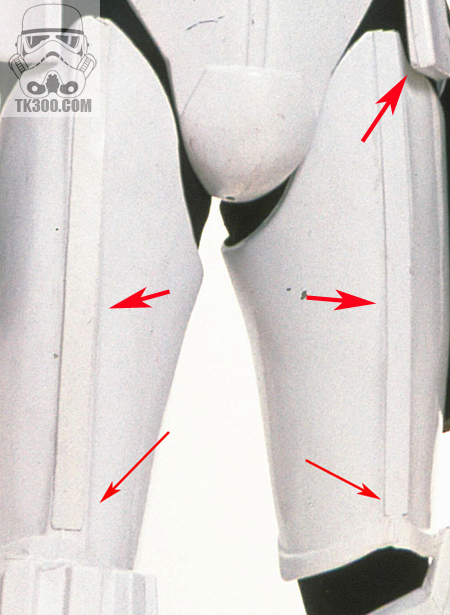
Reference picture to show the cover strips


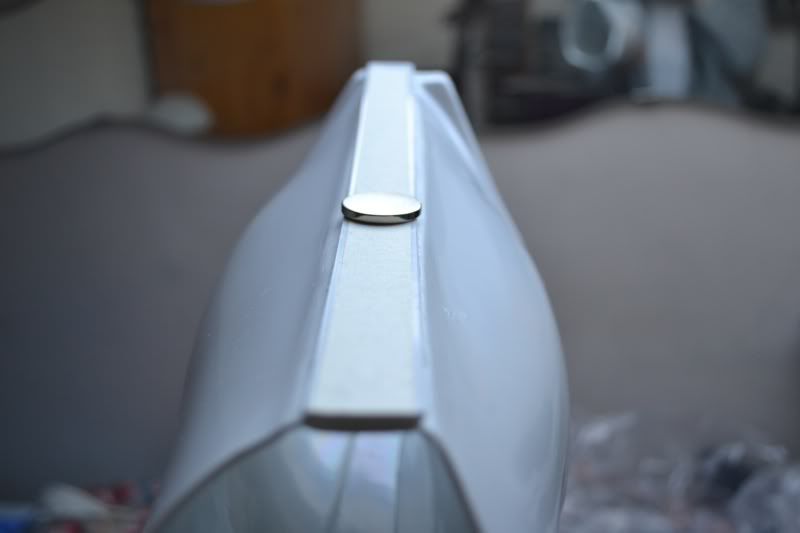
I normally clamp the edges but for the purpose of this picture I removed them to show, after 12 hours, that there is the covering strip on the outside, and a slightly slimmer strip on the inside, called a "shim", to help compensate for bending or moving of the larger elements glued together. The round thingy that you see there is a Rare Earth neodymium magnet.