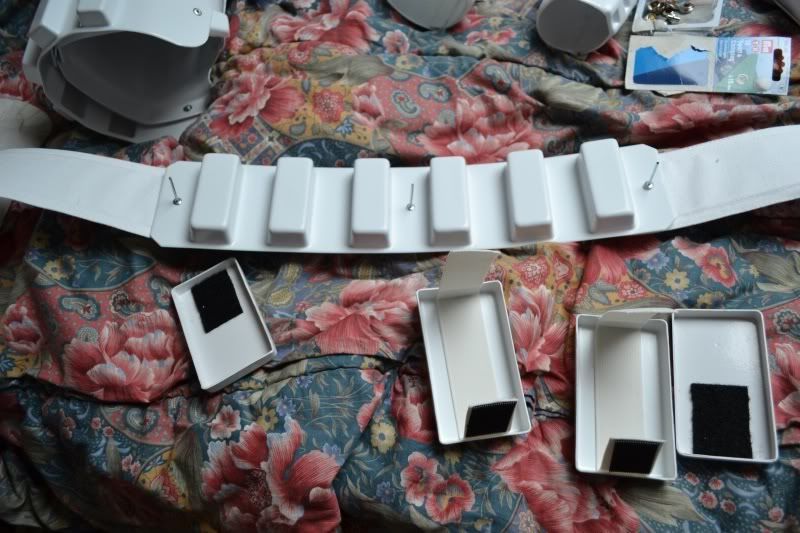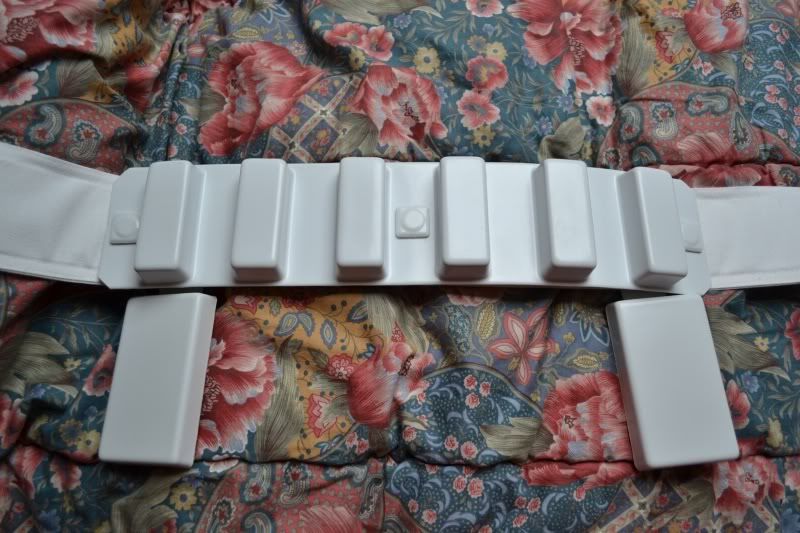
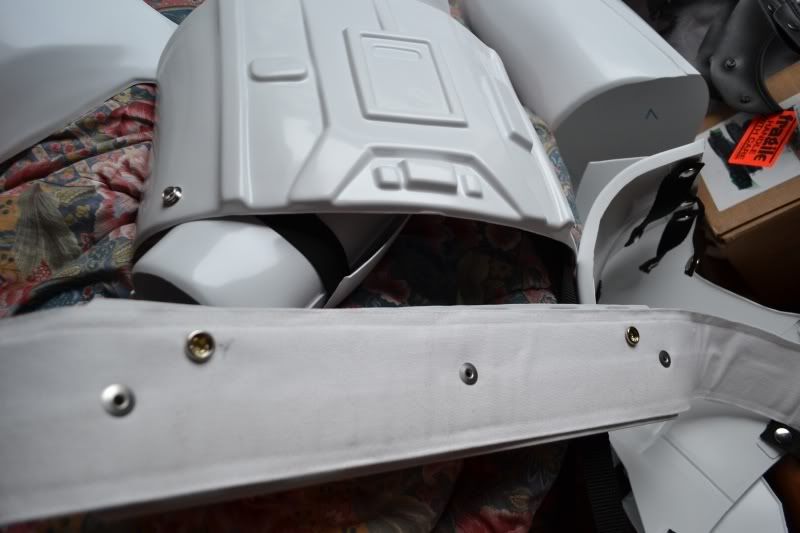
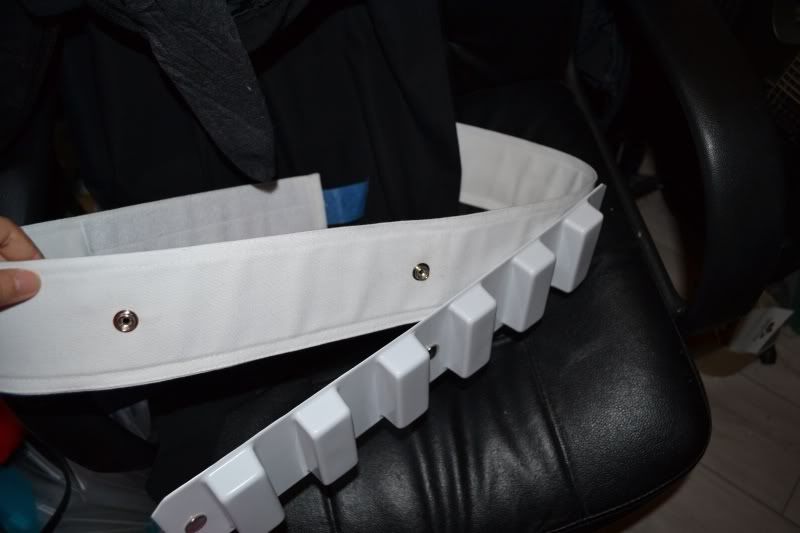
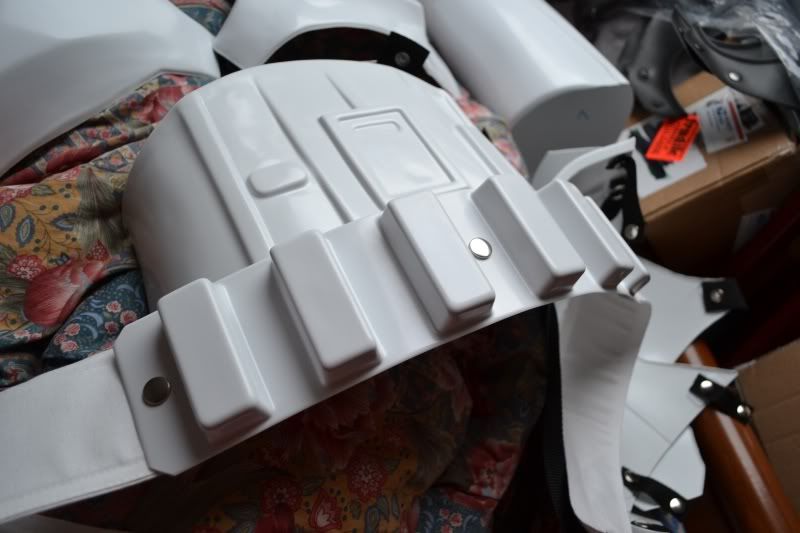
Belt completed with snaps, inner boxed velcro'ed and everything can be disassembled in order to fit snuggly in a transport bin/luggage.
Using a heatgun and/or a hair dryer to obtain a curve on these bad boys.
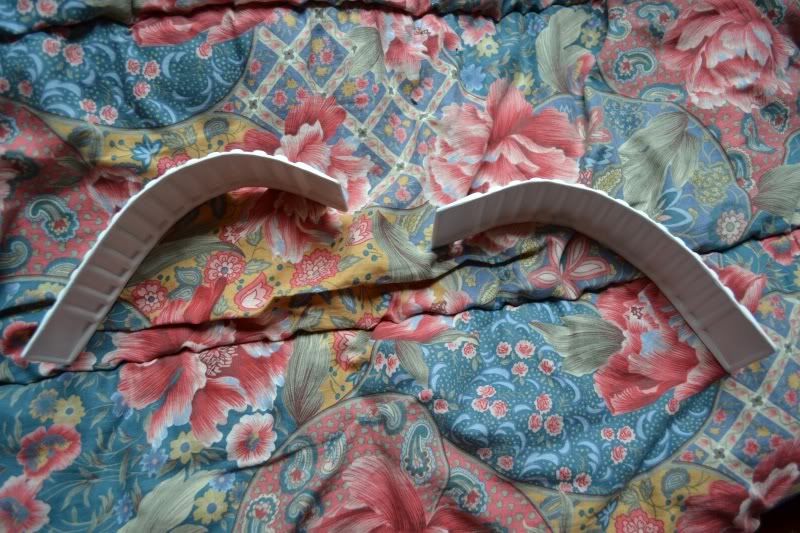
Still undecided about using velcro or snaps to secure them on the chest plate.
This inside of my helmet. The green sheet is doubled with solar film for cars. I only used double-sided sticky tape to have it hang up. The screens are glued, taped, masked, etc... Not sure how long they're going to stay there.
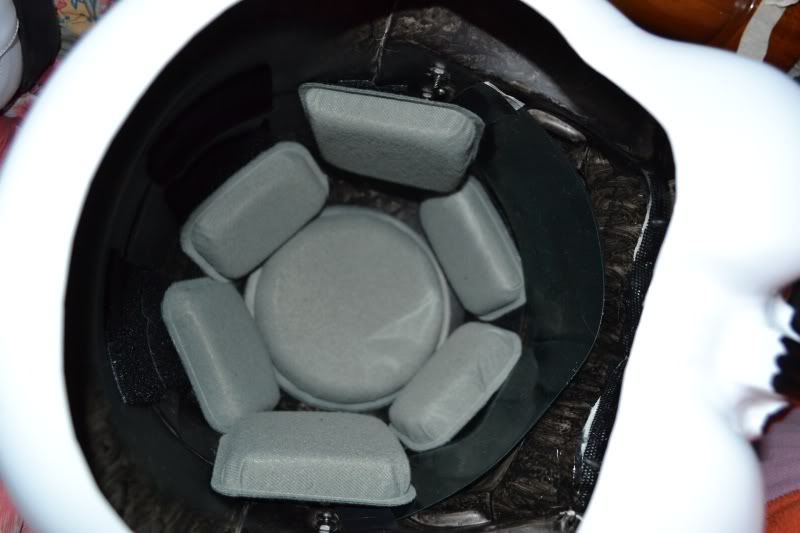
The padding is called MICH helmet padding, military-grade. I use a different configuration now and I think I need to change them soon.
Showing posts with label belt. Show all posts
Tuesday, November 29, 2011
Saturday, November 26, 2011
Day 14
Yes I skipped a day because honestly I got a little distracted and lost track of this.
Some work is done to create the belt. I ran out of snaps so it wasn't easy to get decided on those rivets because I knew I wouldn't have the luxury to fit the entire belt in a luggage that way, it had to be completely disassembled and reassembled.
The inner boxes are attached by means of velcro.
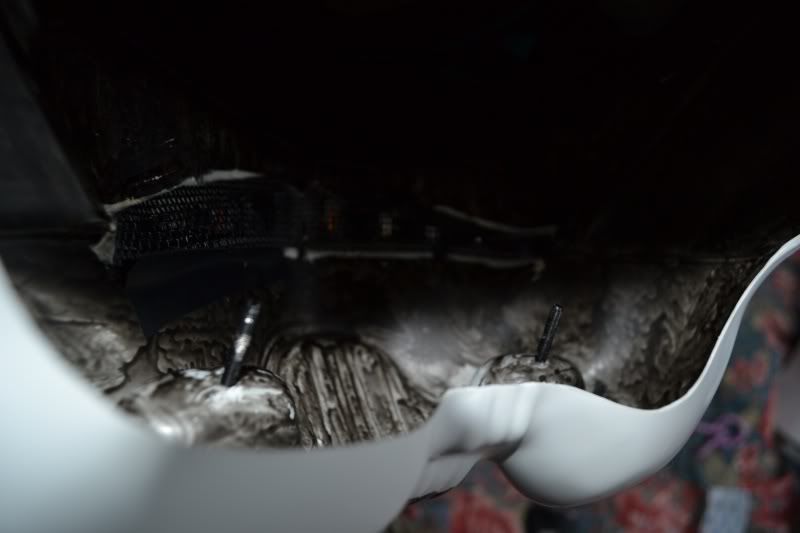
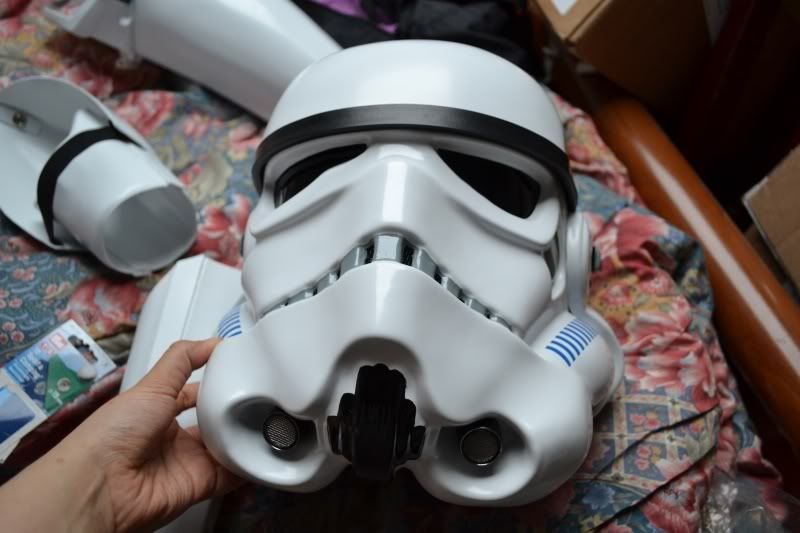
A second coat of acrylic paint in the helmet, and screwing the mic tips in...
Some work is done to create the belt. I ran out of snaps so it wasn't easy to get decided on those rivets because I knew I wouldn't have the luxury to fit the entire belt in a luggage that way, it had to be completely disassembled and reassembled.
The inner boxes are attached by means of velcro.
A second coat of acrylic paint in the helmet, and screwing the mic tips in...
The problem is that the screws on the inside are a little too long. So to avoid poking hazard I need to find shorter screws.
A helmet that looks complete.
Subscribe to:
Posts (Atom)